Text Messaging Setup and 10DLC Registration
Complete the one-time Text Messaging Setup flow so your tracking numbers can send outbound SMS in the US.
When this setup is required
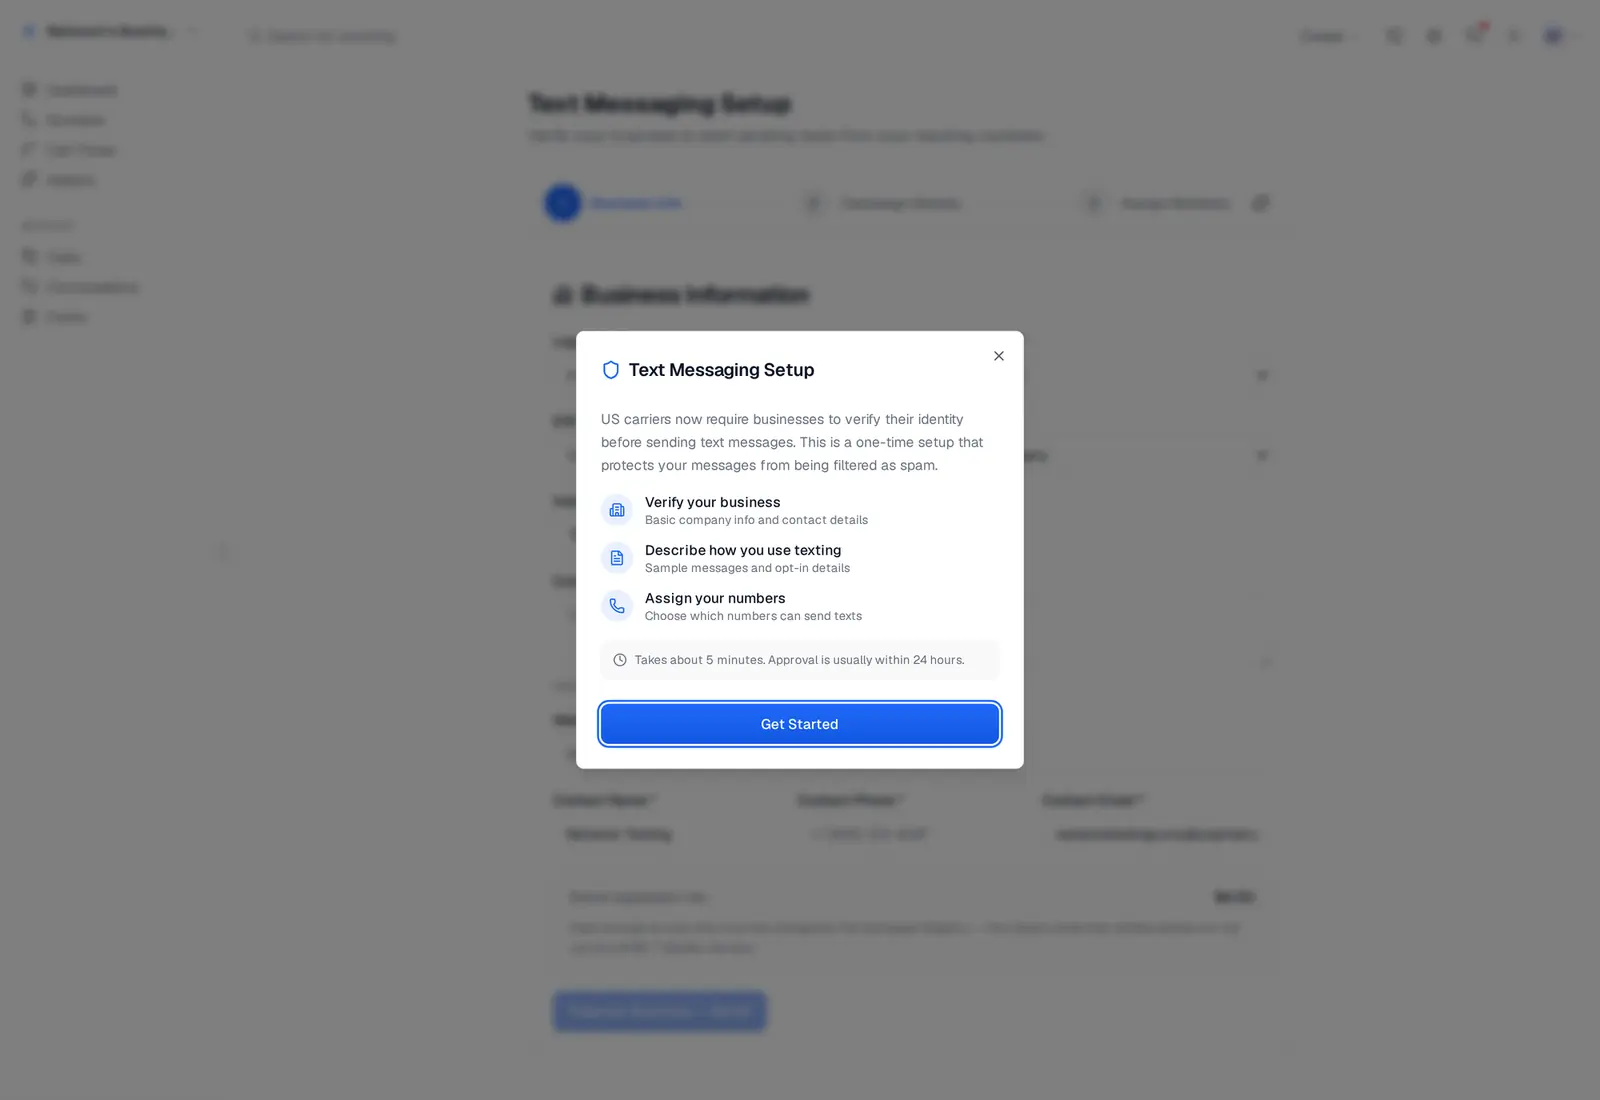
US carriers require A2P registration before your business can send outbound text messages from standard 10-digit numbers. In CallScaler, this setup is handled in Text Messaging Setup. The page opens with a 3-step orientation modal — Verify your business → Describe how you use texting → Assign your numbers — so you can see the full scope before starting. Click Get Started to enter the wizard.
What the setup unlocks
After registration is complete and numbers are assigned, those numbers become SMS-enabled and can be used in Conversations for new messages and replies.
If a number is not registered yet, CallScaler blocks outbound sends and prompts you to finish setup instead of returning a generic provider error.
Step 1: Submit business information
1. Open Text Messaging Setup.
2. In Business Information, enter legal business details, EIN/tax ID, address, website, and contact info.
3. Submit for verification and wait for status to move from Pending to Verified.
Step 2: Submit campaign details
1. In the Campaign Details step, choose the use case and describe what you send.
2. Add at least two realistic sample messages.
3. Add opt-in flow details and review auto-reply text (opt-in, opt-out, help).
4. Submit and wait for campaign approval.
If your campaign is rejected, update the details shown in the rejection reason and resubmit from the same page.
Step 3: Assign numbers
1. Once the campaign is approved, go to Assign Numbers.
2. Select the tracking numbers you want to text from.
3. Click Assign Selected Numbers.
4. Confirm those numbers now show as SMS-enabled.
Role permissions
Brand submission, campaign submission, and number assignment are restricted to account owners and admins. Managers and viewers can still view status, but cannot submit registration changes.
Conversations behavior before and after setup
In Conversations, message composers only allow SMS-enabled numbers in the From selector. If no SMS-enabled numbers exist, the compose dialog shows a setup prompt and links to Text Messaging Setup.
Troubleshooting common errors
If sends fail, check these first:
1. Confirm the From number belongs to the same business.
2. Confirm the number is assigned and marked SMS-enabled.
3. Confirm your balance is sufficient in Settings → Billing.
4. Refresh registration status from the Text Messaging Setup page before retrying.
On this page