Billing
Manage plans, balance, auto top-up, and backup payment cards from one Billing tab.
Open Billing
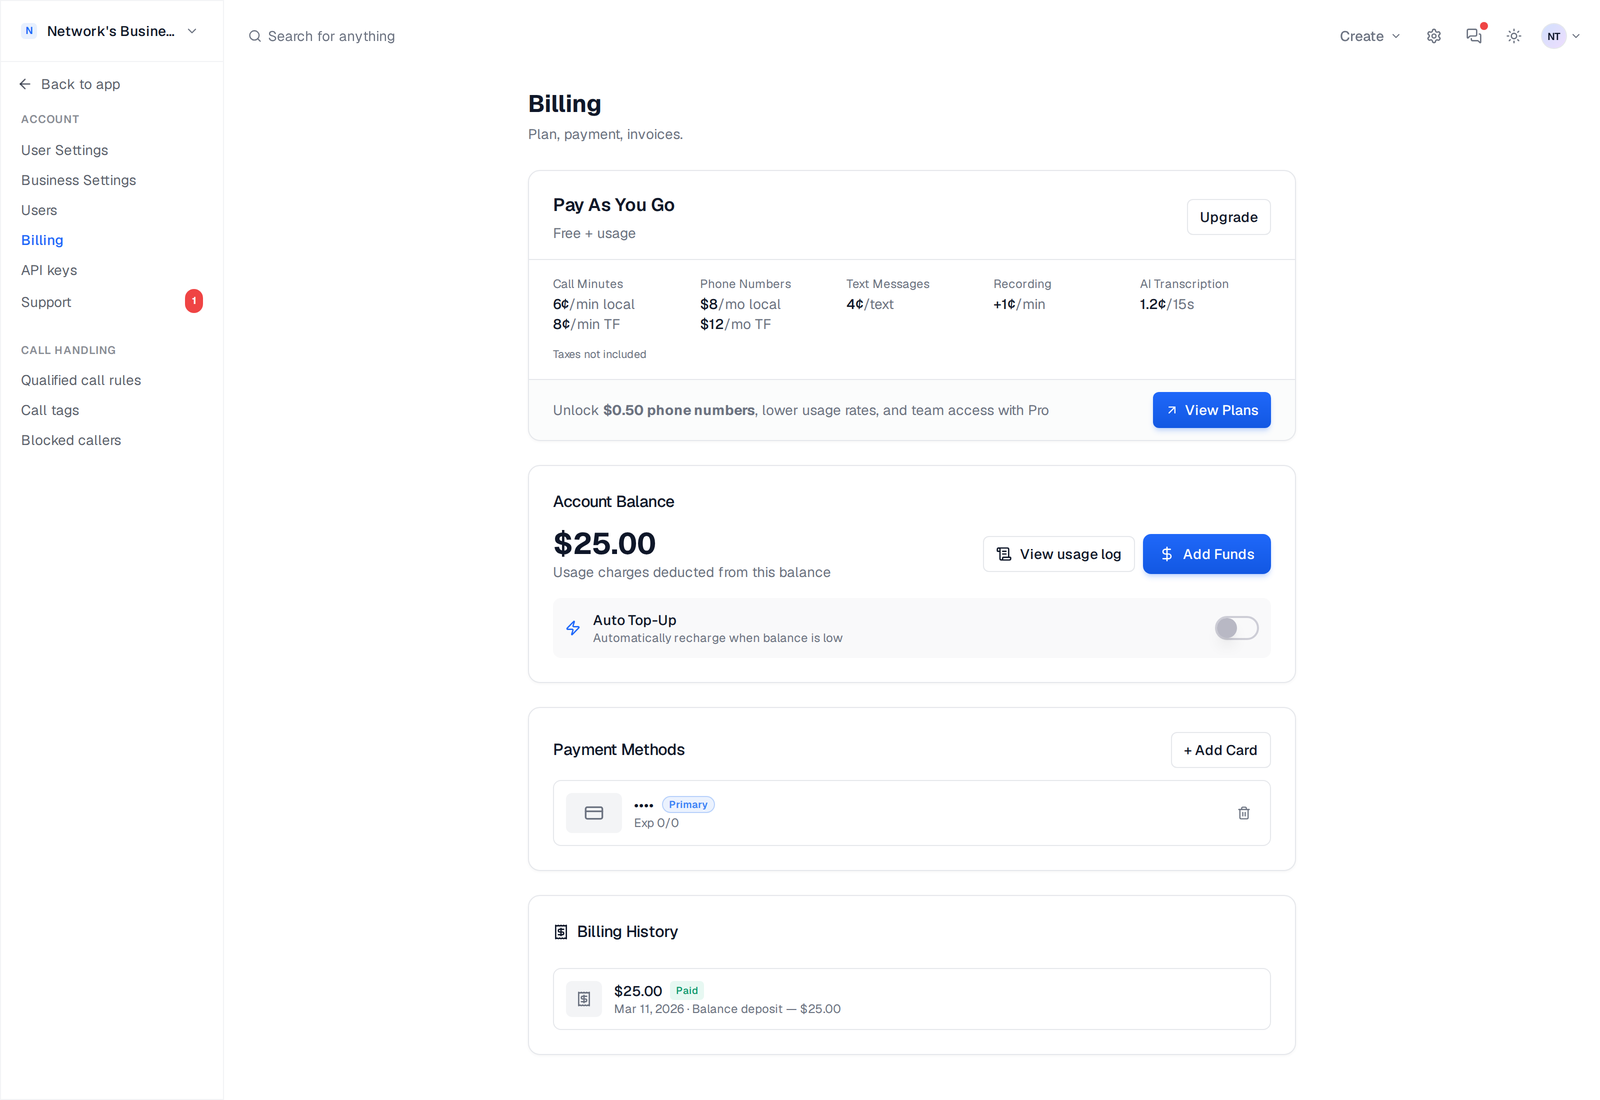
Go to Settings → Billing. This page shows your current plan, balance, auto top-up controls, and saved cards in one place.
How charges work
CallScaler uses plan billing plus usage billing. Your plan renews on its billing cycle, and usage charges are deducted from your account balance throughout the month.
Check your plan details on your billing page.
If you want line-by-line charge history, open Account Logs from the Billing page.
Add funds manually
1. Open Billing.
2. In Account Balance, click Add Funds.
3. Choose an amount and complete checkout.
4. You are returned to Billing and your balance updates after verification.
If all saved cards fail during a card-on-file charge attempt, the top-up fails and you need to retry with a valid card.
Set up Auto Top-Up
1. In Billing, turn on Auto Top-Up.
2. Set Recharge Amount (minimum $5).
3. Set When balance below threshold.
4. Click Save Auto Top-Up.
Example: A Tampa plumbing team can set threshold to $20 and recharge to $100 so late-night call spikes do not pause service.
Auto top-up needs at least one saved payment card.
Use multiple cards (primary + backup)
Billing supports multiple saved cards. You can mark one as Primary and one as Backup. When a charge fails on the primary card, CallScaler automatically attempts the backup card.
- •Add cards with + Add Card
- •Use Set Primary to choose your default card
- •Use Set Backup for failover protection
- •Remove old cards with the trash icon
Change or cancel plan
From Billing, use Upgrade or Change Plan to switch plans. If you click Cancel, the subscription is set to cancel at period end, and you can reactivate before that date from the same screen.
After cancellation takes effect, your account moves off the paid subscription tier. Review your active numbers and usage setup before the period ends.
On this page