Outbound Calling
Place outbound calls from your tracking numbers by phone bridge, in your browser, or with Power Dialer.
What outbound calling does
Outbound Calling lets your team place calls from a CallScaler tracking number instead of a personal number. The lead sees your selected tracking number as caller ID, and each call is logged in your call data.
Open Outbound Calling
1. Go to Addons.
2. Open Outbound Calling.
3. Use the Enable toggle to activate the addon for your business.
If you do not see the toggle, ask a business admin to enable it. Addon management is restricted by role.
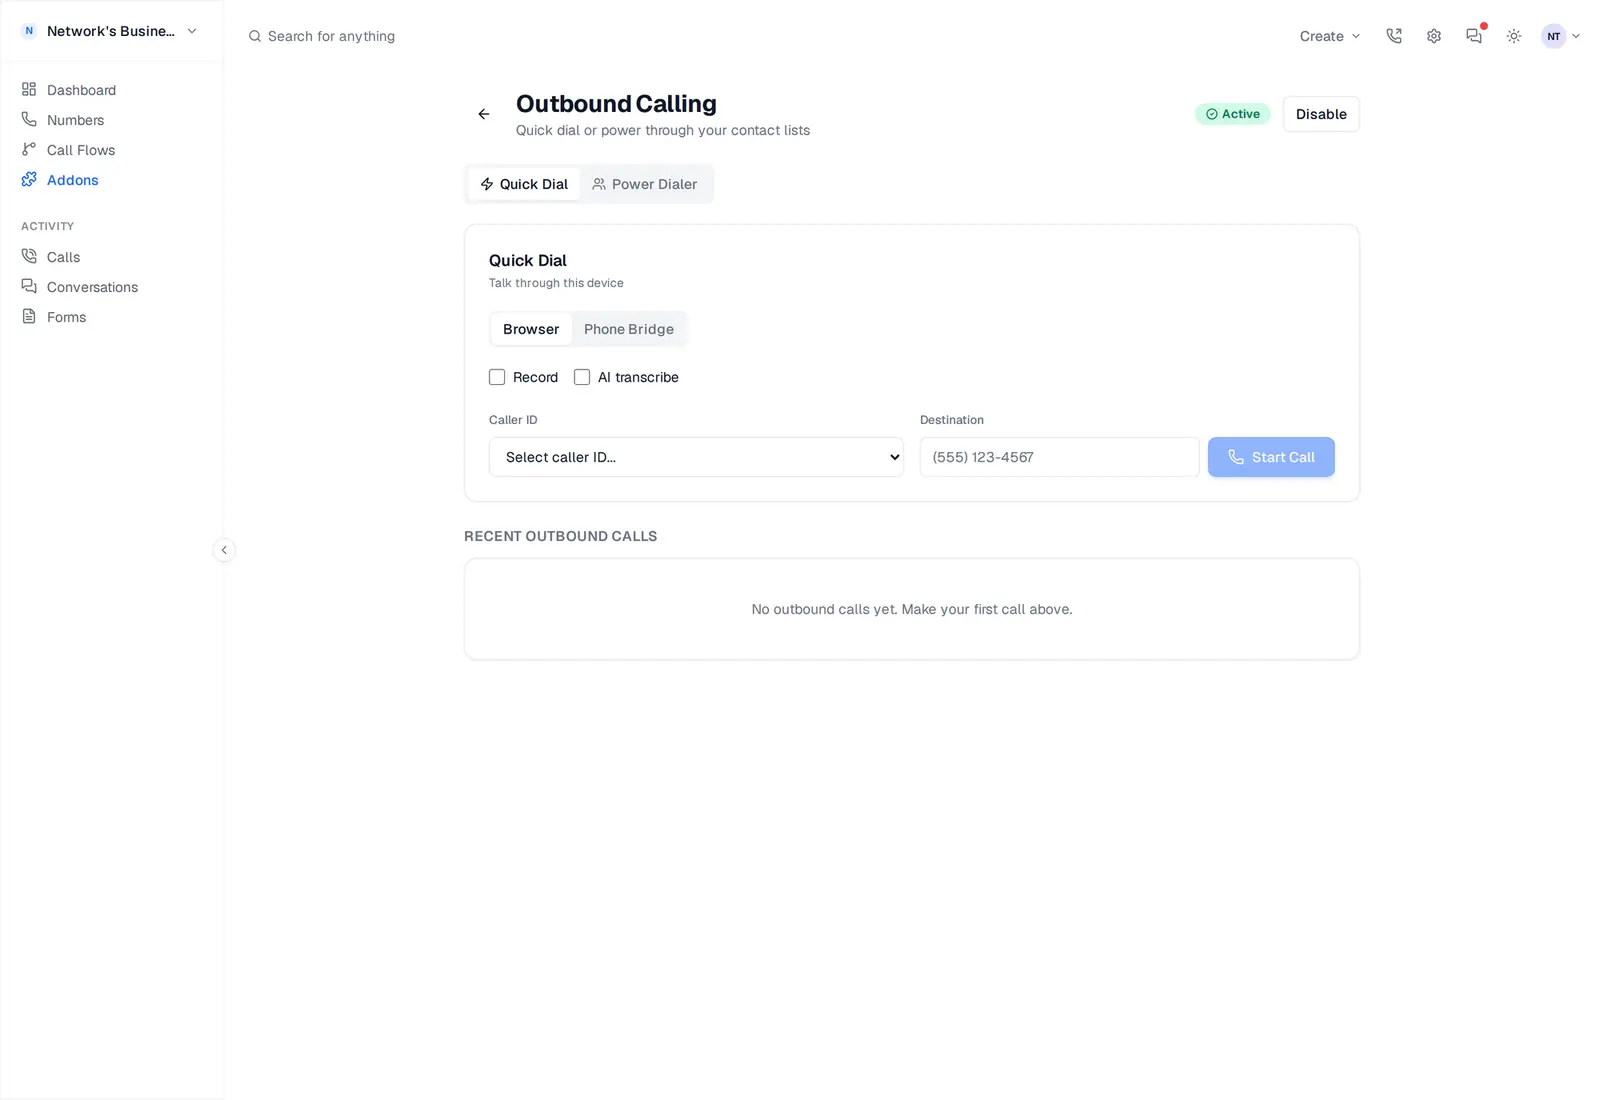
Phone Bridge and Browser Call
Use Phone Bridge or Browser Call for one-off callbacks.
1. In Outbound Calling, open the Phone Bridge tab (CallScaler rings your phone first, then bridges to the lead) or the Browser Call tab (talk through your computer mic — see the Browser Calling doc).
2. Optionally enable Record and AI transcribe.
3. Choose a Caller ID number from your Numbers list.
4. Enter the lead's Destination number.
5. On Phone Bridge, also enter Your Phone (the agent phone to ring first).
6. Click Call (or Start Call in the browser).
Power Dialer campaigns
Use Power Dialer when working through a list.
1. Open the Power Dialer tab.
2. Click New Campaign.
3. Set campaign name, caller ID number, and agent phone.
4. Paste one phone number per line (or comma-separated).
5. Set delay between calls, then create the campaign.
Each campaign tracks progress, status, and result counts.
Run and track results
Inside a campaign, click Start and use Dial Next Contact. After each call, record a disposition: answered, no-answer, busy, voicemail, or callback. Status and completion metrics update in real time for the campaign.
Phone number format
Outbound inputs are validated in E.164 format. Use full international style numbers like +12125551234.
If numbers are entered in local formatting, call creation can fail. Add country code and leading + before saving or dialing.
Billing and usage
Outbound Calling has no addon fee. Outbound minutes still consume your plan usage. For your current rates and usage, go to Settings → Billing.
On this page